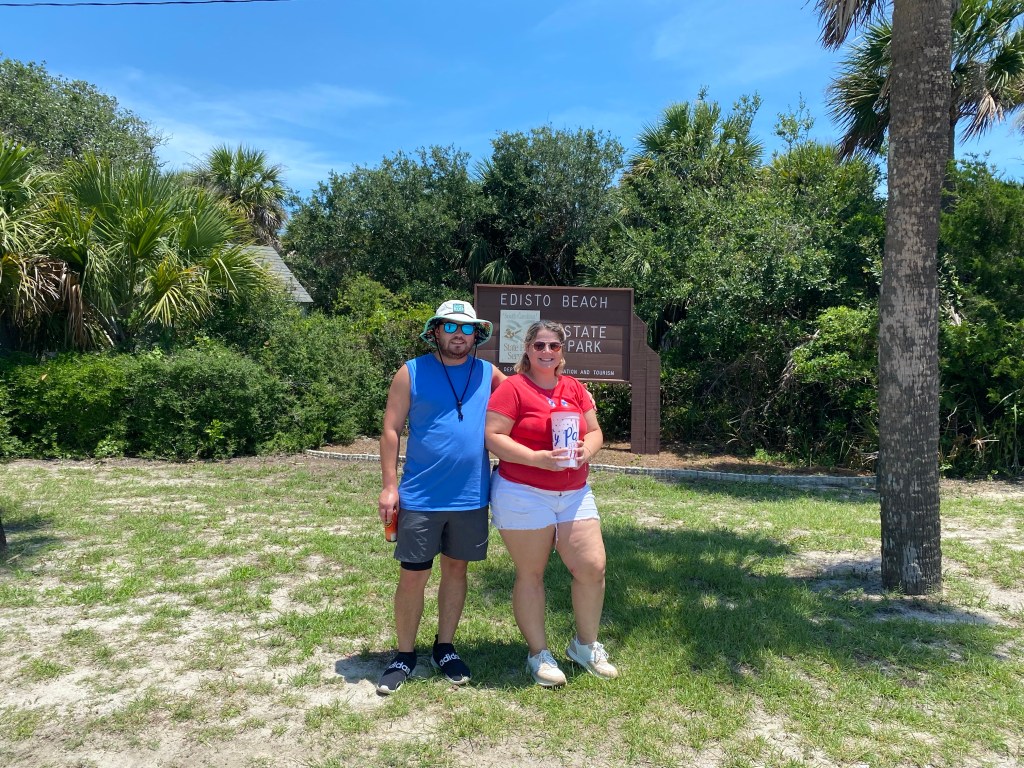
If you haven’t used a RV before, it can be a little intimidating. We’ve been there too (we all started as newbies!), so today we’re bringing you this RV guide for beginners to help make the process painless. After reading this RV guide, you’ll learn how to setup your campsite and all the needed utilities for a RV. This will get you out in the great outdoors and finding your next adventure in no time. We’re Matt & Bree with No Place Like Gone, and we’ve been living and traveling the US full-time in a RV for almost a year now, here are our tips for setting up an RV for the first time.
Time to read:
Please consider joining the gone community by subscribing below & following us on social media. It’s 100% free, and well worth the price of admission. We’ll update you with the newest RV lifestyle stories, tips and tricks, mental wellness tips, and so much more. DMs are always open to chat, and we’ll answer any questions you have about this lifestyle – it doesn’t have to be scary! We also promise not to spam your inbox with junk – we don’t care for that either.
If you have any questions while reading this RV guide, make sure to shoot us a DM on social media with the below links:
Table of Contents:
- The Basic Steps of Setting up an RV:
- Arriving at the Campsite
- Park Your RV With This Guide
- RV Leveling Guide
- Quick Guide to Slide-Outs
- Utilities Guide for RVs
- We Have NEW Camping Merch!
- Get to Camping!
- Where Will Your Next Adventure Be After Reading Our RV Guide?
The Basic Steps of Setting up an RV:
Below are the basic steps of RV set up, from pulling in to the campground to roasting those s’mores. Keep reading for a detailed description of each step.
- Arrive at campground
- Find site number
- Park in site
- Level
- Release slides (if you have them)
- Hook up your utilities
- Electricity
- Water
- Sewer
- Enjoy camping!
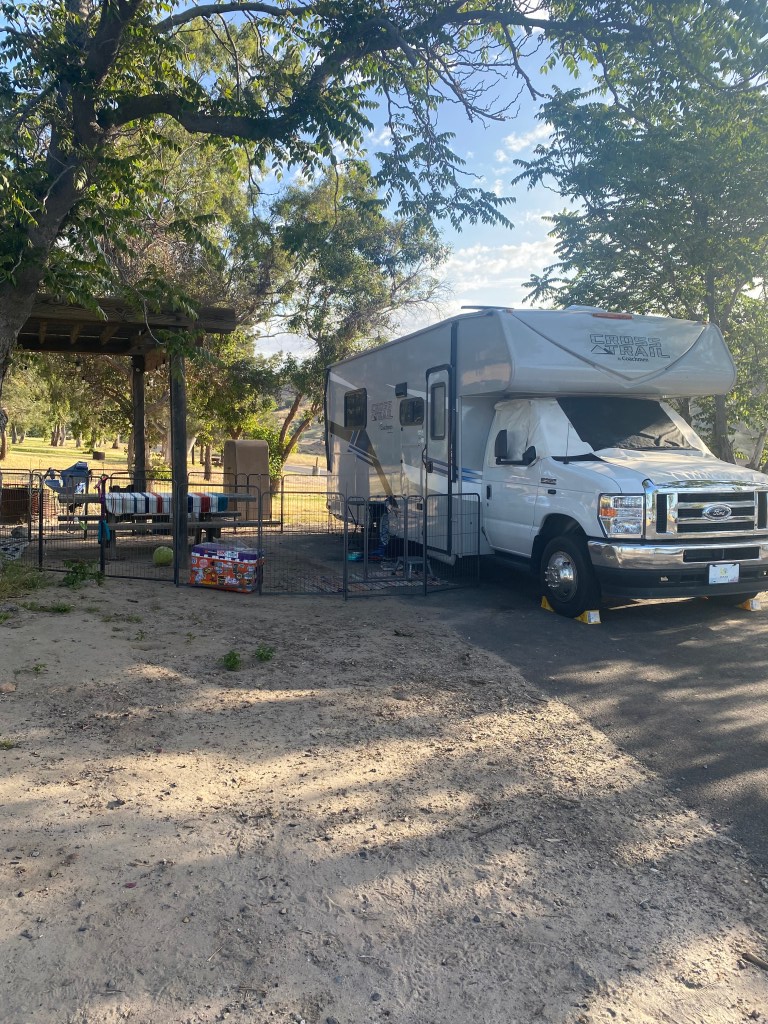
Arriving at the Campsite
Once you get to the campground you’ve decided to stay at, you’ll have to find where your campsite number is.
Insider tip: Many RV campgrounds, state parks, and others, will give you a map or help guide you to your campsite if you ask.
Generally, numbering starts from smallest to largest and increases the further you drive. Go slow and pay attention to directional signs. Once you find your campsite, park in front of it but make sure you aren’t blocking the road. You’ll want to hop out to walk the perimeter of the campsite before parking.
Look for where the utilities are located in the campsite (electricity, water, sewer) but keep in mind not all campsites will have all three. Confirm where the utilities hook up on your RV or camper (typically on the driver’s side).
Check and see whether it’s easier to pull-in or back-in to the spot, typically you can tell by how the campsite is angled against the road – the utilities will also help determine this.
Park Your RV With This Guide
If you aren’t by yourself, you’re in luck (for many reasons). The person with you should hop out so that they can help guide you into the spot. Parking an RV takes teamwork! This is especially important when you are guiding your RV back into a spot. Instead of shouting throughout the campground, it’s best if you get on the phone to communicate directions with each other.
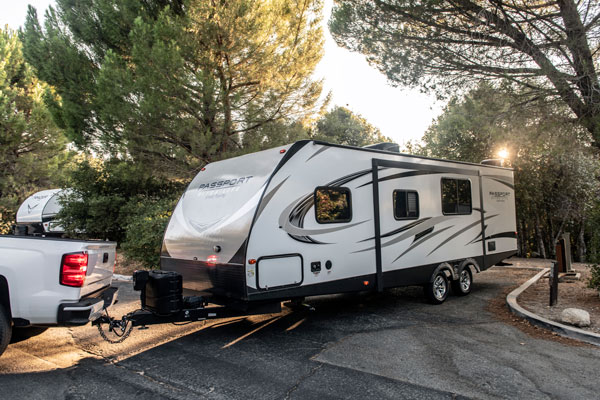
Once backed into the spot, give yourself a pat on the back! If you managed to miss hitting anything, give yourself another pat on the belly … it’s dinner time! Well, first you have to hook the RV up to power, water, and all of the other things but you’ll be bbq’ing in no time.
RV Leveling Guide
You’ll want to make sure the RV is level so that you don’t trip, get hurt, or feel wobbly. There’s also other benefits behind this like water and propane flowing properly as well. If your fridge runs off of propane it is especially important to be level to prevent damage to your appliance.
If you’re renting a RV or camper, you might not have the right equipment to level. Make sure to check with who you have rented from if to confirm they provided leveling instructions.
Auto-Levelers


If you have auto-levelers, you are the luckiest of all. You would know this because they are a huge deal in the world of RVs. With auto-levelers you can press a few buttons and be leveled within a minute or two. That makes things easy, right?
Jack Stands
With automatic jack stands, you can press the buttons to maneuver the jack stands down onto the ground to help you level and support your RV. If you have manual jack stands, you’ll have to use an impact drill or lever to turn the jacks to the proper height on each side.
Leveling Blocks

We use leveling blocks because we’re cheap, woo! With these, you’ll have to pull up onto the blocks and check your levels a few times until you get it right. The blocks interlock and stack just like legos, nothing fancy here, folks.
Quick Guide to Slide-Outs
Slide-outs are a great way to gain additional space in your RV’s floor plan. Many rigs have 2-3 slide-outs and there’s also some without any. We live full-time in a 2022 Coachmen Cross Trail 23XG which is a model with no slide-outs.

You’ll want to make sure that how you parked allows adequate room for the slide-outs on each side. This will mean that you can not be parked too close to trees or any other obstructions.
Insider tip: Typically you’ll have to leave the engine running of your motorhome to operate the slides, whereas campers and travel trailers do not have this problem.
By finding the slide-out control panel (probably located in the interior of the entrance to your RV) you can operate the slide-outs with the buttons. Make sure that you don’t hear any crazy or weird noises as they are extending out.
Insider tip: You can also open the windows so that you can watch as the slides come out. This will give you extra views to watch any trees or potential danger objects.
Utilities Guide for RVs
Electrical Hook-up
We’re going to have a crash course on RV utilities. Make sure you have all the proper RV accessories and necessities if you are new to camping so that you don’t have any issues when you get to the campsite.
For the renters: if you’re renting, you should have a water hose, sewer hose, power cord, and potentially other accessories with your RV. Make sure to check with who you’ve rented from to confirm what came with your rental.

You’ll want to hook up your electrical surge protector and flick on the 30A or 50A breaker depending on what your RV or camper is. You’ll find this out by which cord you have – it’s either 3-prongs or 4-prongs.
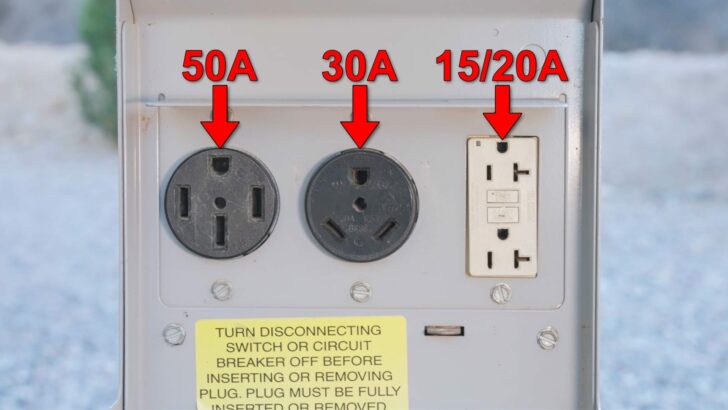
Do not hook up your RV or camper power cord yet! You should only be putting an electrical surge protector to the power pedestal (a sophisticated word for “electrical hook-up”).
Flick on the 30A or 50A depending on your cord, and check if the power is all green lights and safe to use. Otherwise, bring up any grounding issues or faulty electrical problems to the campground staff immediately.
Once your surge protector gives you an A-O-K, it’s time to move on to the power cord. Flick off the 30A or 50A breaker (depending on which one you turned on) to connect your power cord to the surge protector. After, connect the other side of the power cord to your RV electrical connection port. Now is time for the power – flick the corresponding breaker from back on.
Water Connections


Insider tip: Two things you’ll want to have are a water pressure regulator and also a water filter rated for a RV. These are super important.
You’ll want to start with turning on your water spigot at the campsite to verify that it works. Let it run for 20-30 seconds to remove any sediment and water that may be settled down in the pipe. Now you can turn it back off.
It’s time to connect your water pressure regulator. One end of the water hose will then connect to the water pressure regulator, and the other end to the water connection on your rig (another word for RV). Be sure to look for the connection that says “city connection” or something similar and NOT “tank fill” – otherwise you’ll be filing your fresh water tank only!
Now you can jump for joy because all you have remaining for this section of the RV guide is to turn on the water and hope for plumbing to do its job. If you notice any leaks or spraying, turn off the water and try to tighten the connection where you saw an issue. Usually this is a simple and quick fix.
Sewer Connections
Remember, not all campsites will have all of these utility connections. Sewer is the least common to see, but many places that are more expensive do have a hook-up for this. If you want to know what van life is actually like, you may end up with poop on you at this point. Just warning you now so that you are prepared for the inevitable.
You’ll want to put one end of the sewer hose aka stinky slinky (lol, it literally is one though) to the waste connection on your RV. This will be a black plastic valve somewhere under the RV near the other utilities at the rear.
MAKE SURE THE SEWER VALVE HANDLES ARE CLOSED! There should be two of them and both should be closed or you will end up with a mess on your hands.
After connecting to your RV, place the other end of the poop slinky (I coined this term) down into the campsite sewer connection on the ground. From here you can let the tanks fill and dump once or you can let the gray drain while you’re parked. If you opt to leave the gray open (sink and shower waste) be sure temperatures won’t be dropping below freezing. Whether you dump once or leave the gray open, you have to leave the black tank (toilet and poop) valve closed and only dump it when you’re ready.
Insider tip: When you go to leave, you’ll always drain the black tank first and then the grey tank after because the sink water will help wash down the poop hose and any potential clogs.
We Have NEW Camping Merch!
Click any of the images below to get to our new store!
Our new camping merch will level you up from RV beginner to RV pro.


Get to Camping!
That’s basically it … you’ve made it through this RV Setup Guide for Beginners. It wasn’t that bad, was it?
There’s plenty more to learn about this lifestyle, and we want to share it all with you. But the very best way to learn about it – go on a camping trip yourself!
And, we really want to hear about your adventure. If you’re reading this guide, that means you’re probably about to go somewhere awesome very soon. So, where are you camping? Tell us about it in the comments below.
Where Will Your Next Adventure Be After Reading Our RV Guide?
If you liked the blog, please share it with your friends (links below):
Please consider joining the gone community by subscribing below & following us on social media. It’s 100% free, and well worth the price of admission. We’ll update you with the newest RV lifestyle stories, tips and tricks, mental wellness tips, and so much more. DMs are always open to chat, and we’ll answer any questions you have about this lifestyle – it doesn’t have to be scary! We also promise not to spam your inbox with junk – we don’t care for that either.
DM us on social media (with the buttons below) if you have any questions or feedback about the blog today!
Binge read our newest blogs here: